Discover the ultimate guide to nail sizing, ensuring a perfect fit for any style or occasion. Learn how to measure accurately using simple tools like transparent tape and rulers. This guide will help you understand the importance of proper sizing, from natural nails to press-ons, and how to avoid common mistakes. Whether you’re a DIY enthusiast or a professional, this comprehensive resource will be your go-to for achieving flawless results every time.
Understanding the Importance of Proper Nail Size
Proper nail size is crucial for ensuring a comfortable and secure fit, especially for press-on nails or extensions. Incorrect sizing can lead to nails that are too tight or too loose, causing discomfort or damage. Measuring accurately ensures durability and prevents lifting or cracking. Properly sized nails also enhance the natural appearance of your hands, creating a polished and professional look. Whether for everyday wear or special occasions, selecting the right size guarantees satisfaction and confidence. Using tools like transparent tape and rulers can help achieve precise measurements. This step is essential for both DIY enthusiasts and professionals to achieve long-lasting, flawless results.

How to Measure Your Nail Size
Use transparent tape and a ruler to measure your nail size accurately. Place the tape across the widest part of your nail and mark the edges. This simple method ensures precise sizing for a perfect fit.
Step-by-Step Guide to Accurate Nail Measurement

Ensure your nails are bare and free of polish for precise measurement.
Place a strip of transparent tape across the widest part of your nail.
Mark the tape at both edges of your nail using a pen.
Remove the tape and measure the distance between the marks using a ruler.
Compare this measurement to a sizing chart to determine your size.
This method ensures accuracy, helping you find the perfect fit for press-ons or other nail applications. Avoid mistakes by measuring carefully and consistently for reliable results every time.
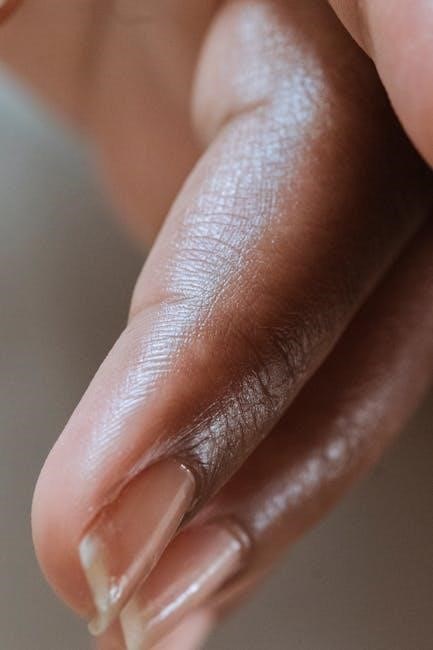
Nail Anatomy and Key Measurement Points
Understanding your nail’s anatomy is crucial for accurate sizing. Focus on the center and edges to determine width. Measure at the widest point for the best fit.
Identifying the Widest Part of the Nail for Sizing
Accurately identifying the widest part of your nail is essential for proper sizing. Place a ruler or transparent tape across the nail’s center, marking the edges where the nail meets the skin. Ensure the measurement is taken at the nail’s widest point, typically just above the cuticle. This method avoids inaccuracies caused by oval or curved nail shapes. For precise results, measure both hands as nail sizes may differ. Using this technique guarantees a comfortable and secure fit, whether for press-on nails or natural nail care, ensuring your chosen size aligns perfectly with your nail bed’s dimensions for optimal comfort and appearance.
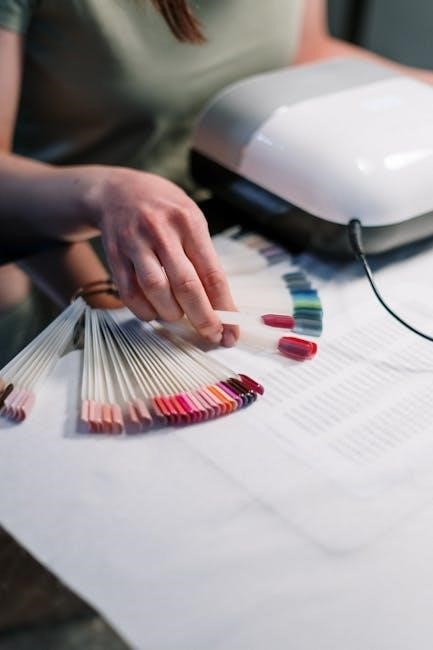
Common Methods for Determining Nail Size
Popular methods include using transparent tape, rulers, or sizing kits. These tools help measure the nail’s width accurately, ensuring the right fit for various nail applications and styles.
Using Transparent Tape and a Ruler for Precision
For accurate nail sizing, place transparent tape across the widest part of your nail. Mark the edges with a pen, then measure the distance between the marks using a ruler. This method ensures precise width measurement, essential for selecting the correct nail size. It’s a simple, cost-effective technique that provides reliable results. Always measure without nail polish for accuracy. This step-by-step approach helps avoid sizing errors, ensuring a comfortable and secure fit for press-on nails or other applications. Regular use of this method guarantees consistent sizing for all your nail needs.

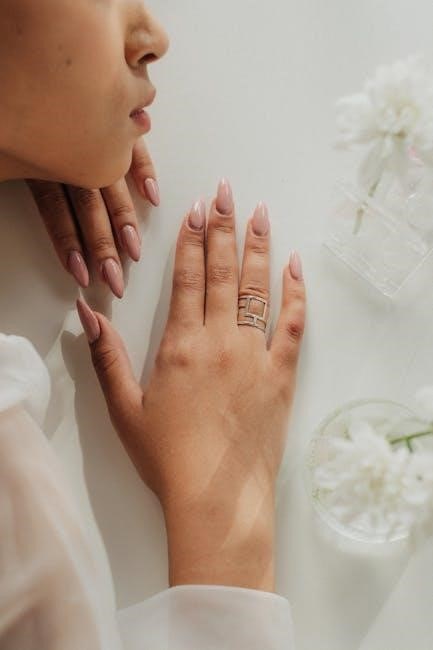
Nail Shapes and Sizes: What You Need to Know
Explore various nail shapes, including almond, square, round, and stiletto, and how their unique characteristics influence sizing and overall fit for different styles.
How Different Nail Shapes Affect Sizing
Different nail shapes, such as almond, square, round, and stiletto, require unique sizing approaches. Almond and stiletto nails are measured at their widest point near the tip, while square nails are measured across their flat edge. Round nails are typically measured at the center for a snug fit. The shape dictates where the measuring tool, like transparent tape or a ruler, should be placed. Understanding your nail shape ensures accurate sizing, whether for press-ons or natural nails. Proper sizing enhances comfort and durability, making it essential to consider shape when selecting nails. This ensures a flawless, long-lasting result.
Standard Nail Sizing Charts Explained
Standard nail sizing charts use penny sizes, offering a range from 0 to 9. These charts help determine the right size based on precise millimeter measurements, ensuring a perfect fit for natural, acrylic, or press-on nails.
Understanding Penny Sizes and Their Relevance
Penny sizing is a traditional method used to classify nail sizes, indicated by a number followed by ‘d’. This system originated from the cost of nails in pennies. The size reflects the nail’s diameter and shank length, with larger numbers indicating thicker nails. For example, a 10d nail is thicker than a 6d nail. This system is widely used in construction and DIY projects, ensuring compatibility and strength. Understanding penny sizes helps in selecting the right nails for specific tasks, making it a crucial part of the nail sizing guide for accurate and reliable results in various applications.
Factors Influencing Nail Size
Nail size is influenced by health, lifestyle, and personal style. Health conditions like psoriasis can affect nail thickness, while lifestyle factors such as manual labor may require sturdier nails. Personal style choices, including fashion trends, also play a role in selecting nail sizes for aesthetic purposes.
How Health, Lifestyle, and Personal Style Impact Nail Size
Health conditions like psoriasis can alter nail thickness, affecting size choices. Lifestyles, such as frequent manual work, may require sturdier nails, while personal style influences aesthetic decisions. Trends and preferences shape nail size selections for fashion.
Common Mistakes to Avoid When Sizing Nails
Measure bare nails to avoid sizing errors caused by polish. Ensure marks are precise and aligned with the widest part for accurate results every time.
Tips for Ensuring Accurate Measurements
For precise nail sizing, use a ruler or transparent tape to measure the widest part of your nail; Ensure the nail is clean and dry for clear markings. Mark both sides accurately and transfer the measurement to a sizing chart. Double-check your measurements to avoid errors. If unsure, seek assistance for better alignment. Use a sizing kit or online guide for reference. Taking multiple measurements ensures consistency and accuracy. Proper sizing is key for comfort and a professional finish, whether for press-ons or natural nails. By following these tips, you can achieve the perfect fit every time;
How to Choose the Right Nail Size for Your Needs
Select nails based on occasion, style, and personal preference. Use sizing charts to match your nail width for a comfortable fit. Consider lifestyle and activity level when choosing nail length and thickness for durability and practicality.
Guidelines for Selecting Nails Based on Occasion and Style
When choosing nails, consider the occasion and your personal style. For formal events, opt for sleek, polished finishes and moderate lengths. Casual outings may call for shorter, more practical nails. Work settings might require understated designs, while creative fields allow for bold, artistic expressions. Lifestyle factors, such as active hobbies or desk jobs, should influence your choice of nail length and thickness. Additionally, match your nail shape to your natural nail bed for a flattering look. Use sizing charts to ensure a precise fit, and prioritize comfort without compromising on aesthetics. This approach ensures your nails complement both function and fashion seamlessly.
Tools and Resources for Nail Sizing
Utilize transparent tape, rulers, and sizing kits for precise measurements. Online guides, charts, and tutorials provide additional support, ensuring accurate nail sizing for various applications and preferences.
Using Sizing Kits and Online Guides for Accuracy
For precise nail sizing, consider using professional kits and online resources. Sizing kits often include multiple nail samples, helping you identify your perfect fit. Online guides provide step-by-step tutorials, measurement charts, and video demonstrations. Many kits are reusable, making them a cost-effective option for frequent use. Additionally, some kits include tools like transparent tape and rulers to measure width and length accurately. Online platforms also offer interactive size calculators, ensuring a personalized fit. These resources are especially useful for those new to nail sizing or looking to achieve professional results at home. They cater to various nail types, styles, and preferences, ensuring accuracy and satisfaction.
Mastering nail sizing ensures a flawless fit for any style. Use tools like transparent tape and rulers for accuracy, and consider sizing kits for convenience. With practice, you’ll achieve perfect results every time, enhancing your nail care routine and personal style effortlessly.
Final Tips for Finding Your Perfect Fit
For a flawless fit, always measure your nails when they’re bare to avoid sizing errors caused by polish. Use transparent tape and a ruler for precision, marking the widest part of your nail. Natural light helps ensure accurate measurements. Consider your lifestyle and personal style when choosing sizes, as occasion and activity level may influence your needs. Ordering a sample size kit can provide a hands-on way to confirm your fit. Finally, consistency is key—measure at the same time daily to account for any natural variations. With patience and practice, you’ll effortlessly find your perfect nail size every time.