Great Northern Popcorn Maker Instructions: A Comprehensive Guide
This guide offers detailed instructions‚ covering setup‚ operation‚ cleaning‚ and troubleshooting for your Great Northern Popcorn Maker. It ensures perfect batches every time‚
leveraging insights from various resources and recipes for optimal enjoyment.
Understanding Your Popcorn Maker
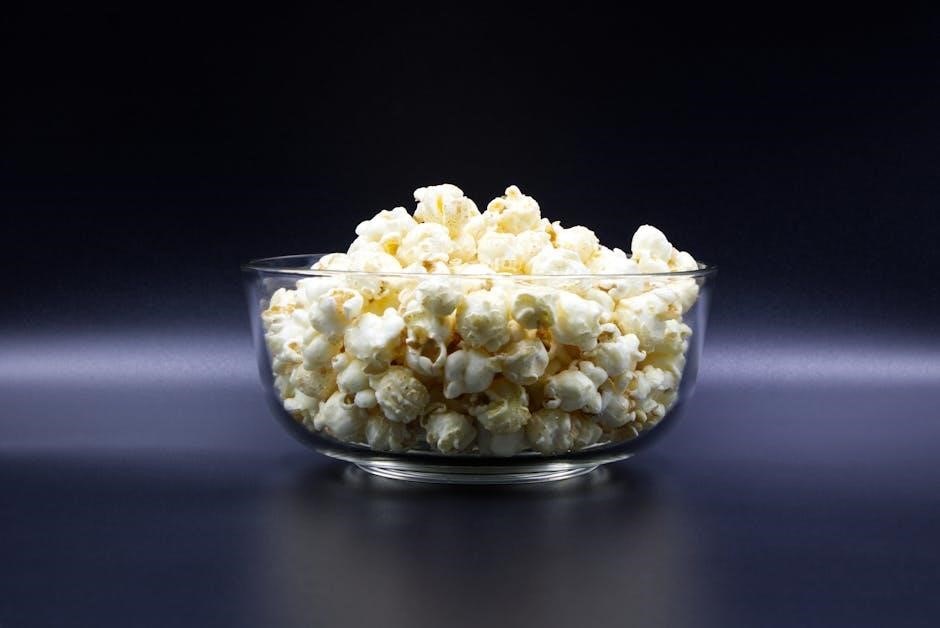
Your Great Northern Popcorn Maker is designed for convenient and enjoyable popcorn creation. It utilizes a heated chamber and often a stirring mechanism to ensure even kernel exposure to heat‚ resulting in fluffy‚ delicious popcorn. Familiarizing yourself with its components – the popping chamber‚ heating element‚ stirring arm (if present)‚ and power switch – is crucial for safe and effective operation.
Understanding the principles of popcorn popping is also beneficial. Kernels contain a small amount of moisture; when heated‚ this moisture turns to steam‚ building pressure until the kernel bursts. The maker’s design optimizes this process. Different kernel types (butterfly‚ mushroom) will yield varying textures. Furthermore‚ recognizing the importance of proper oil measurement and kernel-to-oil ratio‚ as highlighted in seasoning recipe guides‚ will significantly impact the final product’s taste and quality. Regular maintenance‚ as detailed in cleaning instructions‚ ensures longevity and consistent performance.
Unboxing and Component Identification
Carefully unpack your Great Northern Popcorn Maker and verify all components are present. You should find the main popping unit‚ including the popping chamber with a lid. Identify the power cord‚ ensuring it’s undamaged. Many models include a measuring cup specifically designed for kernels – do not substitute with standard kitchen measuring cups for accurate results.
Look for a stirring mechanism‚ if your model features one; this is typically a central paddle or auger. Some units may also include a small oil measuring scoop. Refer to the included documentation (often resembling a methodological recommendation for practical work) to confirm all parts. Illustrations‚ if provided‚ are invaluable for correct identification. Inspect each component for any shipping damage; Retain the packaging for potential future transport or warranty claims. Proper identification now prevents confusion during setup and operation‚ ensuring a smooth popcorn-making experience.
Safety Precautions Before First Use
Before initial operation‚ thoroughly inspect the Great Northern Popcorn Maker for any damage sustained during shipping. Ensure the power cord is intact and free from fraying. Never immerse the unit in water or any other liquid; this poses a serious electrical hazard‚ mirroring concerns highlighted in materials regarding practical work discipline.
Place the popcorn maker on a stable‚ heat-resistant surface‚ away from flammable materials. Do not operate near water sources. Familiarize yourself with the location of the power switch and ensure it’s easily accessible. Avoid touching hot surfaces during and immediately after use – the popping chamber reaches high temperatures. Supervise children closely when the appliance is in use. Disconnect the unit from the power outlet when not in use and before cleaning. Adhering to these precautions‚ similar to those found in scientific publication guidelines‚ will ensure safe and enjoyable popcorn making.

Setting Up Your Great Northern Popcorn Maker
Proper setup involves placing the unit on a level surface and ensuring all components are correctly assembled. This prepares the machine for optimal performance and safe operation.
Powering On and Initial Heating
Before the first use‚ carefully inspect the power cord for any damage. Plug the Great Northern Popcorn Maker into a grounded electrical outlet. Ensure the voltage matches the appliance’s requirements to prevent malfunctions or safety hazards.
Initial heating is crucial for optimal popping performance. Power on the machine using the designated switch. Allow the popping chamber to heat up completely – this typically takes 3-5 minutes. You’ll notice the temperature gradually increasing‚ preparing the surface for kernel expansion.
During this preheating phase‚ avoid adding any kernels or oil. This ensures the popping chamber reaches the ideal temperature for consistent results. Some models may have an indicator light signaling when the unit is ready. Observe the manufacturer’s specific guidelines for preheating duration‚ as variations may exist between different Great Northern models. A properly heated chamber is fundamental to achieving fluffy‚ fully popped kernels.
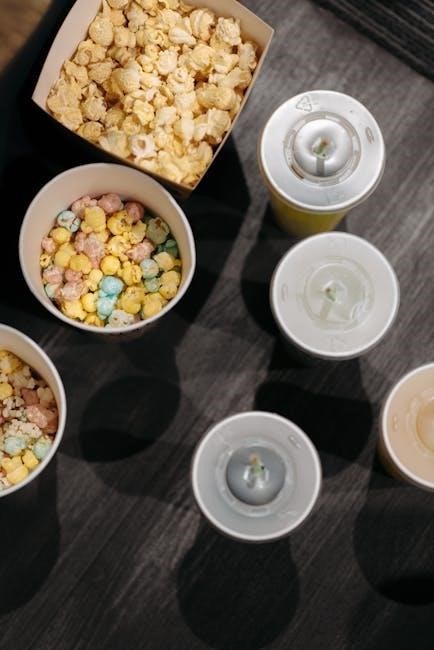
Kernel Measurement and Recommended Amounts
Accurate kernel measurement is vital for successful popcorn making. Overfilling can lead to unpopped kernels and potential clogging‚ while underfilling results in a sparse yield. The Great Northern Popcorn Maker typically functions best with ½ to ¾ cup of kernels per batch.
For optimal results‚ use a dedicated measuring cup to ensure consistency. Different kernel varieties may require slight adjustments; smaller kernels generally need a bit more volume. Experiment to find the perfect amount for your preferred texture and popping rate.
Avoid exceeding the maximum fill line indicated within the popping chamber. This prevents overcrowding and ensures even heat distribution. Start with the recommended ½ cup and adjust based on your machine’s capacity and desired popcorn volume. Remember‚ quality kernels contribute significantly to a satisfying popping experience‚ so choose fresh‚ undamaged kernels for best results.
Oil Measurement and Recommended Types
Selecting the right oil and quantity is crucial for flavorful and evenly popped corn. Coconut oil‚ vegetable oil‚ canola oil‚ and even avocado oil are suitable choices‚ each imparting a slightly different taste. Avoid using olive oil‚ as its low smoke point can lead to burning and an unpleasant flavor.
Generally‚ 2 to 3 tablespoons of oil are recommended per ½ cup of kernels. Adjust slightly based on the oil type; coconut oil‚ for example‚ may require a bit less due to its higher fat content. Ensure the oil evenly coats the kernels within the popping chamber.
Precise measurement is key. Using a tablespoon measuring spoon guarantees consistency. Insufficient oil can cause burning‚ while excessive oil results in greasy popcorn. Experiment with different oils to discover your preferred taste profile‚ always prioritizing oils with a high smoke point for safe and delicious results.
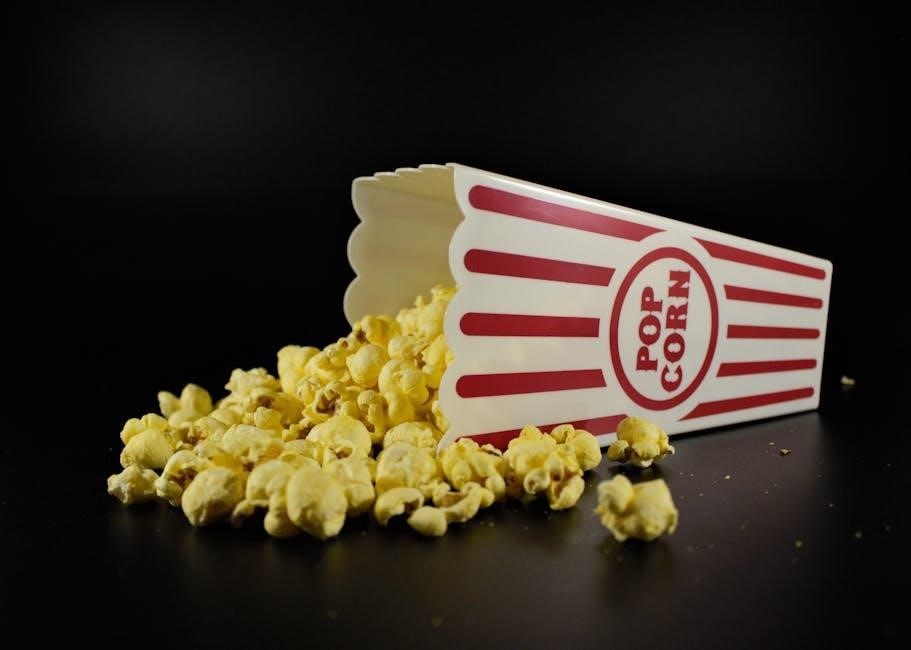
Popping the Perfect Batch
Achieving popcorn perfection relies on precise execution. This section details the step-by-step process‚ emphasizing sound monitoring and recognizing completion cues for consistently delicious results.
The Popping Process: Step-by-Step
Begin by ensuring the popping chamber is clean and properly assembled. Carefully measure the recommended amount of kernels – typically around ½ cup for standard models‚ but consult your specific unit’s guidelines. Add the appropriate quantity of oil‚ usually 2-3 tablespoons‚ ensuring even distribution across the chamber’s surface.
Secure the lid firmly‚ guaranteeing a tight seal to contain the popping action. Power on the Great Northern Popcorn Maker and allow it to preheat. This initial heating phase is crucial for optimal popping. Once heated‚ the kernels will begin to pop‚ creating a rhythmic sound.
Gently shake or stir the machine (if equipped with a stirring mechanism) during the process to promote even heating and prevent burning. Continue popping until the intervals between pops lengthen significantly‚ indicating most kernels have transformed. Immediately turn off the machine to avoid scorching the remaining unpopped kernels.
Monitoring the Popping Sound
Paying close attention to the popping sound is vital for achieving perfectly popped corn. Initially‚ you’ll hear a rapid succession of pops as the kernels heat and expand. This signifies the peak of the popping process. As more kernels convert‚ the frequency of pops will gradually decrease.
Listen for the intervals between pops to lengthen noticeably. This is a key indicator that the majority of kernels have already popped‚ and continuing to heat risks burning the remaining few. A consistent‚ slow popping rate suggests the process is nearing completion.
Avoid relying solely on visual cues‚ as the popping chamber’s design can obscure the action. The auditory feedback provides a more accurate assessment of the popping status. Experienced users can even discern the quality of the pop – a loud‚ crisp pop indicates a fully expanded kernel‚ while a dull thud suggests an unpopped or partially popped one.
Knowing When Popping is Complete
Determining the precise moment to halt the popping process is crucial to prevent burnt kernels and ensure optimal flavor. The definitive sign is when the interval between pops extends to approximately 2-3 seconds. This indicates that nearly all viable kernels have transformed.
Don’t wait for absolute silence; a few straggling pops may occur even after the majority have finished. However‚ prolonged heating after this point will inevitably lead to scorching. Immediately turn off or disconnect the popcorn maker once the popping slows significantly.
A slight burning smell is a late warning sign – if detected‚ turn off the machine instantly. Practice and familiarity with your specific model will refine your judgment. Remember‚ a little unpopped kernels are preferable to a batch ruined by burning.
Cleaning and Maintenance
Regular cleaning extends your popcorn maker’s life and ensures hygienic operation. Always unplug and cool before disassembly; promptly remove residue after each use for best results.
Cooling Down and Disassembly
Before initiating any cleaning‚ ensure the Great Northern Popcorn Maker is completely cooled down. This is a crucial safety precaution to prevent burns. Allow ample time – at least 30 minutes – after the popping cycle concludes for all components to reach a safe temperature.
Once cooled‚ carefully unplug the unit from the power outlet. Disassembly typically involves removing the popping chamber‚ stirring mechanism (if present in your model)‚ and any removable trays or collection areas. Consult your specific model’s diagram‚ if available‚ for precise instructions;
Handle the popping chamber with care‚ as some models may have non-stick coatings that can be easily scratched. Detach the stirring mechanism by gently releasing any locking mechanisms or screws. Ensure all parts are fully detached before proceeding to the cleaning stage. Proper disassembly facilitates thorough cleaning and prevents damage to the internal components.
Cleaning the Popping Chamber
The popping chamber requires regular cleaning to maintain optimal performance and prevent stale popcorn residue buildup. After disassembly and cooling‚ gently wipe the interior of the chamber with a soft‚ damp cloth. Avoid abrasive cleaners or scouring pads‚ as these can damage the surface‚ especially if it has a non-stick coating.
For stubborn residue‚ a mild dish soap solution can be used‚ ensuring thorough rinsing afterward to remove any soap traces. Pay particular attention to any crevices or corners where unpopped kernels or oil may accumulate.
If the chamber is dishwasher safe (refer to your model’s manual)‚ it can be cleaned on the top rack. However‚ hand washing is generally recommended to prolong the life of the non-stick coating. Ensure the chamber is completely dry before reassembling the popcorn maker.
Cleaning the Stirring Mechanism (if applicable)
If your Great Northern Popcorn Maker features a stirring mechanism‚ it’s crucial to clean it regularly to ensure smooth operation and prevent burnt residue from affecting future batches. Begin by carefully detaching the stirring paddle or arm‚ consulting your user manual for specific instructions.
Wash the stirring component in warm‚ soapy water‚ using a soft brush to remove any stuck-on popcorn or oil. Pay close attention to any joints or moving parts. Rinse thoroughly to eliminate all soap residue‚ and allow it to dry completely before reattaching.
Avoid submerging the motor or any electrical components in water. Wipe down the exterior of the motor housing with a damp cloth only. Regular cleaning of the stirring mechanism will contribute to the longevity and consistent performance of your popcorn maker.
Troubleshooting Common Issues
Addressing problems like unpopped kernels‚ burning smells‚ or uneven popping ensures optimal performance. This section provides solutions for common issues‚ maximizing your popcorn enjoyment.
Popcorn Not Popping
If your popcorn isn’t popping‚ several factors could be at play. First‚ ensure the unit is adequately heated; insufficient heat is a primary cause. Verify the power connection and that the machine is switched on correctly. Next‚ check the kernels themselves – old or improperly stored kernels may lack sufficient moisture for successful popping.
Kernel quantity is crucial; too few kernels won’t generate enough heat‚ while too many can overcrowd the chamber. Refer to the ‘Kernel Measurement’ section for recommended amounts. Also‚ confirm you’re using the correct oil type and quantity‚ as insufficient oil can lead to burning and prevent popping.
Inspect the stirring mechanism (if applicable) to ensure it’s functioning correctly‚ distributing heat evenly. A malfunctioning stirrer can create cold spots. Finally‚ if the popping chamber is excessively dirty‚ it might impede heat transfer. A thorough cleaning‚ as detailed in the ‘Cleaning and Maintenance’ section‚ may resolve the issue.
Burned Popcorn Smell
A burned popcorn smell indicates overheating or insufficient oil. Immediately disconnect the popcorn maker from the power source to prevent further burning and potential fire hazard. Allow the unit to cool completely before attempting any inspection or cleaning.

Insufficient oil is a common culprit; ensure you’re using the recommended amount and type‚ as detailed in the ‘Oil Measurement’ section. Overcrowding the popping chamber can also contribute to burning‚ as kernels won’t have enough space to pop properly. Adhere to the recommended kernel quantities.
Residual oil or unpopped kernels from a previous batch can also burn during subsequent use. Thoroughly clean the popping chamber after each use‚ removing all remnants. If the smell persists even after cleaning‚ inspect the heating element for any signs of damage or buildup. A damaged heating element may require replacement.
Uneven Popping
Uneven popping‚ where some kernels remain unpopped while others burn‚ often stems from inconsistent heat distribution or improper kernel agitation. Ensure the stirring mechanism (if your model has one) is functioning correctly and freely rotating throughout the popping cycle. A malfunctioning stirrer leads to hotspots.
Kernel quality plays a significant role; older kernels or those exposed to moisture may not pop efficiently. Use fresh‚ properly stored kernels for best results. Also‚ verify the power supply is stable; voltage fluctuations can affect heating consistency.

Avoid overloading the popping chamber‚ as this hinders proper kernel movement and heat circulation. Experiment with slightly adjusting the popping time‚ as different kernel types may require varying durations. Regularly cleaning the unit prevents buildup that can impede heat transfer and contribute to uneven popping.
Advanced Techniques & Customization
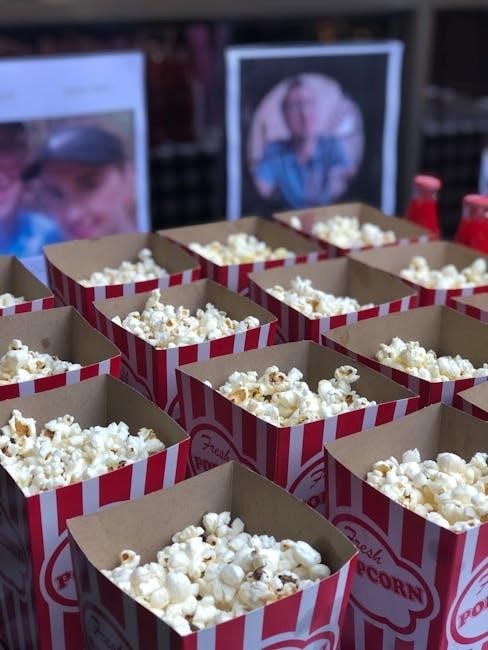
Explore flavor possibilities! Create custom seasoned popcorn or infused oils to elevate your experience‚ drawing inspiration from diverse recipes and spice blend ideas.
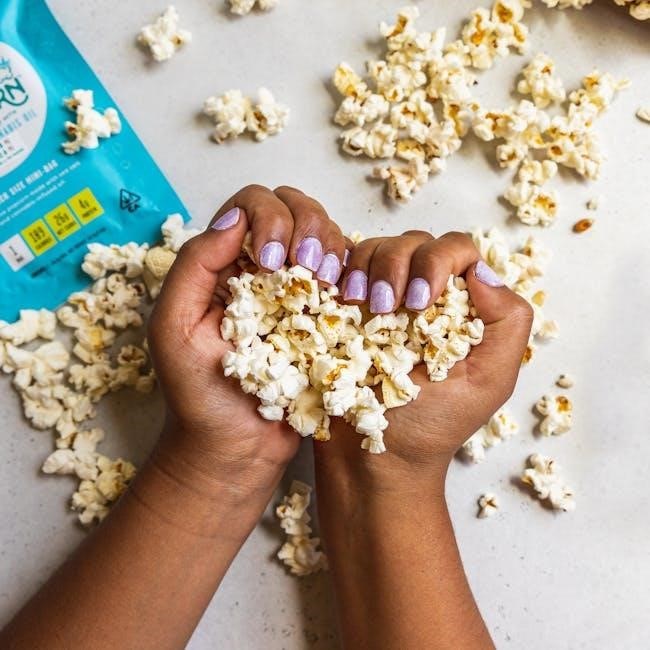
Adding Seasonings After Popping
Enhance your popcorn with a delightful array of seasonings after the popping process for optimal flavor distribution and to prevent burning delicate spices. This method allows for greater control and creativity in customizing your snack. Consider drawing inspiration from the over 190 recipes available for homemade seasoning and spice mixes – a fantastic alternative to store-bought options often laden with hidden sugars‚ salts‚ and MSG.
Begin by gently tossing the popped corn in a large bowl. Gradually sprinkle your chosen seasoning‚ ensuring even coverage. Popular choices include classic salt and pepper‚ savory garlic powder‚ spicy chili powder‚ or sweet cinnamon sugar. For a richer flavor‚ consider melted butter or a light spray of cooking oil to help the seasonings adhere. Experiment with unique blends – nutritional yeast for a cheesy flavor‚ smoked paprika for a smoky kick‚ or even finely grated Parmesan cheese. Remember to taste and adjust seasoning levels to your preference.
Don’t be afraid to get creative! The possibilities are endless when it comes to flavoring your popcorn.
Creating Flavored Oils
Elevate your popcorn experience by crafting your own flavored oils! This technique infuses a subtle yet impactful taste directly into each kernel. Begin with a neutral-flavored oil‚ such as canola or vegetable oil‚ as a base. Gently heat the oil in a saucepan – avoid high temperatures to prevent burning. Introduce your desired flavoring agents‚ allowing them to steep for approximately 15-20 minutes.
Garlic-infused oil is a classic choice; simply add several crushed garlic cloves to the warming oil. For a spicy kick‚ incorporate dried chili flakes or a dash of cayenne pepper. Herb-infused oils‚ using rosemary‚ thyme‚ or oregano‚ offer a fragrant and savory dimension. Remember to strain the oil through a fine-mesh sieve before use‚ removing any solids.
Experiment with different combinations! Consider smoked paprika oil‚ parmesan and herb oil‚ or even a sweet cinnamon-vanilla oil. Use these flavored oils sparingly during the popping process‚ or drizzle lightly over the finished popcorn for an extra burst of flavor.
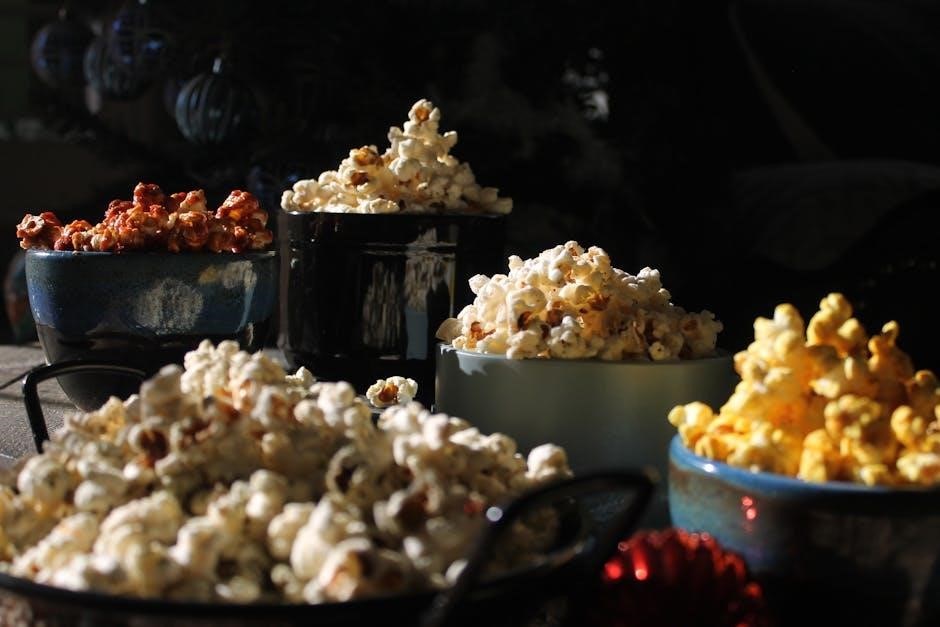
Adjusting Popping Time for Kernel Types
Different popcorn kernel varieties possess unique moisture content and hull structures‚ necessitating adjustments to popping time for optimal results. Traditional yellow kernels generally require a standard popping duration‚ typically until the popping slows to 2-3 seconds between pops. However‚ smaller kernels‚ like hulless or white popcorn‚ often pop more quickly.
Monitor the popping sound closely; these varieties may be ready sooner than expected. Conversely‚ larger kernels‚ such as mushroom kernels often used for candy coating‚ might require slightly longer popping times to fully expand. Observe the popcorn closely‚ ensuring kernels aren’t burning while still unpopped.
Experimentation is key! Start with the manufacturer’s recommended time and adjust in 10-15 second increments. A slight variation in popping time can significantly impact the final texture and yield. Always prioritize safety and avoid overheating the unit. Consistent observation and minor adjustments will unlock the perfect pop for your preferred kernel type.